


The post Clean Out Your Fridge appeared first on Fath Properties Blog.
]]>
Clean Your Fridge
I am not happy with whomever invented Clean Out Your Fridge Day which is “celebrated” on November 15. Do we really need to be reminded that although the rest our place looks presentable, there’s probably something creepy, hairy, stinky, and unknown lurking in the back corner of the crisper drawer? Clearly, we do, or this day would not exist. My fridge is like my closet. It will go for weeks – dare I say months – looking tidy and clean and then suddenly, out of seemingly nowhere, it looks like elves performed some horrible mischief in the night. My once neat, organized, color-coded (yes, I am THAT girl) closet is a sloppy wreck with clothes falling off the hangers and the fridge contains mysterious science-fair-like “stuff”. And it’s not like cleaning either is hard; it’s just an annoyance and an awful way to spend a Saturday morning when you could be brunching on eggs benedict and sipping mimosas. So, what is one to do? As in the words of a dear friend of mine, “Just git ‘er done”. Here’s a few tips on making this god-forsaken process a wee bit less miserable.
Prepare a Staging Area
Obviously, you must remove all the food from the fridge to clean it. Short on counter space? Set up a little folding table or use a few chairs. I am pretty successful with just removing food from one section at a time, cleaning it, and putting it back before moving on. For a complete, and uber thorough clean, put your food in a cooler. Whatever you use, you need at least enough room to hold a shelf’s worth of stuff. Make sure your kitchen sink is empty, too. While you’re at it, put the recycling bin nearby as you’ll likely be tossing expired items.
Gather Your Supplies
You won’t need much. White vinegar and/or dish soap, a spray bottle or a big bowl, a sponge and/or a scrubby, and paper and/or microfiber towels, all or most of which you probably already have on hand. The vinegar breaks down grease and grime, and when mixed with hot water in a spray bottle (or bowl, or dishpan, or bucket), it becomes a food-safe cleaner that’s perfect for any gunk that might have accumulated on refrigerator shelves. The other items on the list will help you wipe, scrub, dry, and shine.
Work Shelf by Shelf
While some people have enough counter space (is there ever really enough?!?) to completely empty their refrigerators before cleaning, I find working one shelf at a time is often the best method, because you don't want to leave your perishables out for too long.
- Start at the top.
- Remove everything from a shelf and see just how messy you (or those darn elves!) have been.
- If there are spills, carefully remove the glass from the frame (or brackets, depending on your fridge) and clean both sides, as well as the edges, with the vinegar solution.
- Dry with paper or microfiber towels.
- Wash the frame that holds the glass before replacing the entire shelf. For that, I usually head to the sink and use dish soap and hot water.
- If there aren’t any caked-on spills that require shelf removal, simply run a scrubby sponge under hot water. Give the shelf and fridge walls an initial scrub to loosen any gunk. Then, spray it all down with cleaner and give it another scrub, before wiping everything clean with a microfiber cloth.
NOTE: When you’re not actively working in the fridge, close the door to keep everything as cool as you can.
Doors and Drawers
Refrigerator drawers often accumulate debris, especially if they’re used for produce. For a deep clean, remove the drawers and wash them in the kitchen sink with soap and water. If they won’t fit in your sink, spray and wipe them clean, and dry them before putting them back. While the drawers are removed, wipe down the walls and “floor” of the fridge with the vinegar cleaner. Use the same method for the shelves inside the doors.
Clean It Before You Put It Back
Now that your fridge is sparkling (and you realize it wasn’t THAT BAD to clean), be sure to wipe down jars, containers, and condiment bottles so you don’t bring gunk back into the fridgeEven if it doesn’t appear dirty, it’s a good idea to give the bottom a quick wipe with a damp microfiber cloth, especially if the shelf was sticky. If any bottles or jars have accumulated a little goo on the outside, rinse them under warm water then wipe them clean and dry. If gunk has accumulated around the seal or the edges of the cap, take the lid off and wash it more thoroughly in the sink. Check all expiration dates and toss anything that’s expired, like the sriracha I just threw away from 2017. Hmmm.
Wipe Down the Outside
Once everything is back in your sparkling fridge, use a clean microfiber cloth and the vinegar spray to wipe down the outside of the doors, including the edges and seals, and don’t forget the handles! The worst area will undoubtedly be to top of the fridge as it tends to collect greasy residue from cooking and dust. I like keeping a kitchen towel on top that can just be thrown in the wash.
Keep It Fresh
You did it and you lived to tell the tale! Enjoy your super-clean fridge. For a while, anyway. If you want to keep it smelling fresher longer, stick an open box of baking soda on one of the shelves. Now treat yourself to brunch with a Bloody Mary. You deserve it.
The post Clean Out Your Fridge appeared first on Fath Properties Blog.
]]>The post WHEN YOU NEED A QUICKIE (CLEANING) appeared first on Fath Properties Blog.
]]>
When You Need A Quickie (Cleaning)
Spring is the traditional time of year when we think of deep cleaning to get rid of all the dirt we simply could not see during the dark and dreary winter. (My tried and true excuse. LOL.) Last year, we talked about spring cleaning. A lot. From cleaning windows and blinds, to dusting, to cleaning bedrooms, bathrooms, and kitchens — we covered it all. Deep cleaning your home ensures your space stays free of bacteria, allergens, crumbs, and other debris. But sometimes, “Ain’t nobody got time for that!” Today we'll chat about what to do when you need a quickie.
Finding time to give your home a thorough spring cleaning can be challenging even in the best of times. When you unexpectedly learn you’re about to have company and your home needs tidying up, don’t panic! When you are in a time crunch, this 30-minute cleaning routine will save the day. This simple checklist will sanitize some of the highest-touch areas of your home, help you to stay focused to actually complete the spruce-up in 30 minutes, and make your space look and feel cleaner, so you can enjoy your guests worry-free.
Do the Dishes
Give your kitchen a sparkling look by cleaning dirty dishes and putting away clean ones. Including dish cleaning in your routine encourages consistency in maintaining a clean home. Consistent small efforts can prevent the accumulation of a larger mess, making it easier to manage cleaning tasks over time. But for now, just wash 'em up and put 'em away for an immediate positive impact on your kitchen.
Wipe Down Counters
Kitchen and bathroom counter tops are like magnets, attracting dust, crumbs, spills, and splatters. A quick wipe-down will give your space a tidier look almost instantly. Plus, you’ll eliminate bacteria and germs, and eliminate odors. Tuck any items creating clutter in a drawer or below-sink cabinet.
Shine Faucet Fixtures
Water stains can give your faucet fixtures a dingy, uncared-for look. Return your faucets to their former glory by giving them a quick polish. Bar Keeper's friend applied with a wet sponge followed by a buff with a microfiber cloth will work wonders. Regular shining helps minimize water stains, keeping your faucets looking new and well-maintained.
Polish Stainless Steel Appliances
From your microwave to your refrigerator, stainless steel surfaces easily show fingerprints, smudges, and water spots. Apply a stainless steel cleaner then buff with a clean, dry microfiber cloth. Polishing these surfaces regularly ensures they remain free from these marks (but also stains and corrosion), creating a visibly clean and well-maintained appearance. Polishing stainless steel appliances is a relatively quick chore that can have a big impact on the overall appearance of your kitchen, and who doesn't appreciate a little gleaming in the kitchen?
Pick Up Clothes
Pick up your clothes, you animal! LOL. Clothes piled up on your bedroom floor, bed, or chair; left on the bathroom floor; or heaped in the laundry room can make your place look a hot mess. Put clothes back where they belong, whether in your closet or the hamper, for a quick tidying up. Not only will your space look instantly cleaner, but regularly washing and maintaining your wardrobe minimizes the presence of allergens, dust, and other particles that can affect indoor air quality and cleanliness. And it will make your mother happy.
Dust
Use a duster to clean furniture around your apartment that has accumulated a layer of dust, like your nightstands, dining room table and chairs, living room coffee and end tables, and any shelving. Don't forget the TV! A clean and well-maintained living room creates a much more welcoming atmosphere for guests than a messy, dusty space. Plus, it will reflect your commitment to a comfortable, inviting living environment while promoting a more organized and orderly living space for you.
Empty the Trash
If your trash cans are full, use this as your opportunity to empty and clean them. Remove the bag and sprinkle baking soda in the bottom of the can. Add about two inches of warm water. Allow the mixture to sit for a few minutes, then swish it around and wipe. Rinse with clean water and let it air dry upside down. If the can itself is not dirty, just empty the trash, especially in the bathroom. No one wants to see your bathroom trash. If you, like me, are not a fan of seeing a trashcan liner around the top edge of your bathroom wastebasket, here's a quick tip to keep the can from getting mucky: place a paper towel in the bottom and let the corners rise up the sides. This will keep any wet or damp waste from discoloring the can or trash from sticking to the bottom. You're welcome.
Tidy Your Entryway
The entryway sets the tone for the rest of your place, so cleaning it is a quick way to make your space feel fresh and well-tended. Take a moment to organize shoes, jackets, shopping bags, and/or the dog leash. All manner f stuff can quickly accumulate in the entryway. Put it all way (or tidy it up) now, then keep it clean and organized. Regular tidying and freshening helps reduce mess and creates the appearance of a more open and spacious entryway.
Vacuum & Swiffer
A quick once-over with a Swiffer on your hard surface flooring and vacuum on your rugs and carpets is a quick and easy way to make your space look and feel cleaner. Floors, like countert ops, are magnets for tracked-in dirt, dust, and debris, especially in high-traffic areas like your foyer, hallway, and entrance to your kitchen. Swiffering and/or vacuuming helps remove the dirt and dust, and prevents the grime from spreading throughout your home and settling on other surfaces. It also improves indoor air quality. Best of all, carpet vacuum tracks lend an air of tidiness to a room.
Floof
The easiest and funniest way to make your home look company-ready is floofing. You know, fluffing up all the soft surfaces. Punch the pillows, then give the sides and top a good wack to fluff up all the stuffing. I like to finish with a nice karate chop to the top. This tiny bit of effort will make them look thick, cozy, and inviting. Fluff up and straighten the sofa and chair cushions, too. Bonus: all this floofing is a great stress reliever!
Look at you! 30 minutes in and your place looks great, but don't forget to make time for spring cleaning later. Cleaning is always a bit of a pain, but a clean and organized home turns your home into a calm retreat for you and your guests.
The post WHEN YOU NEED A QUICKIE (CLEANING) appeared first on Fath Properties Blog.
]]>The post HOW TO GET YOUR SHOWERHEAD SPARKLING CLEAN appeared first on Fath Properties Blog.
]]>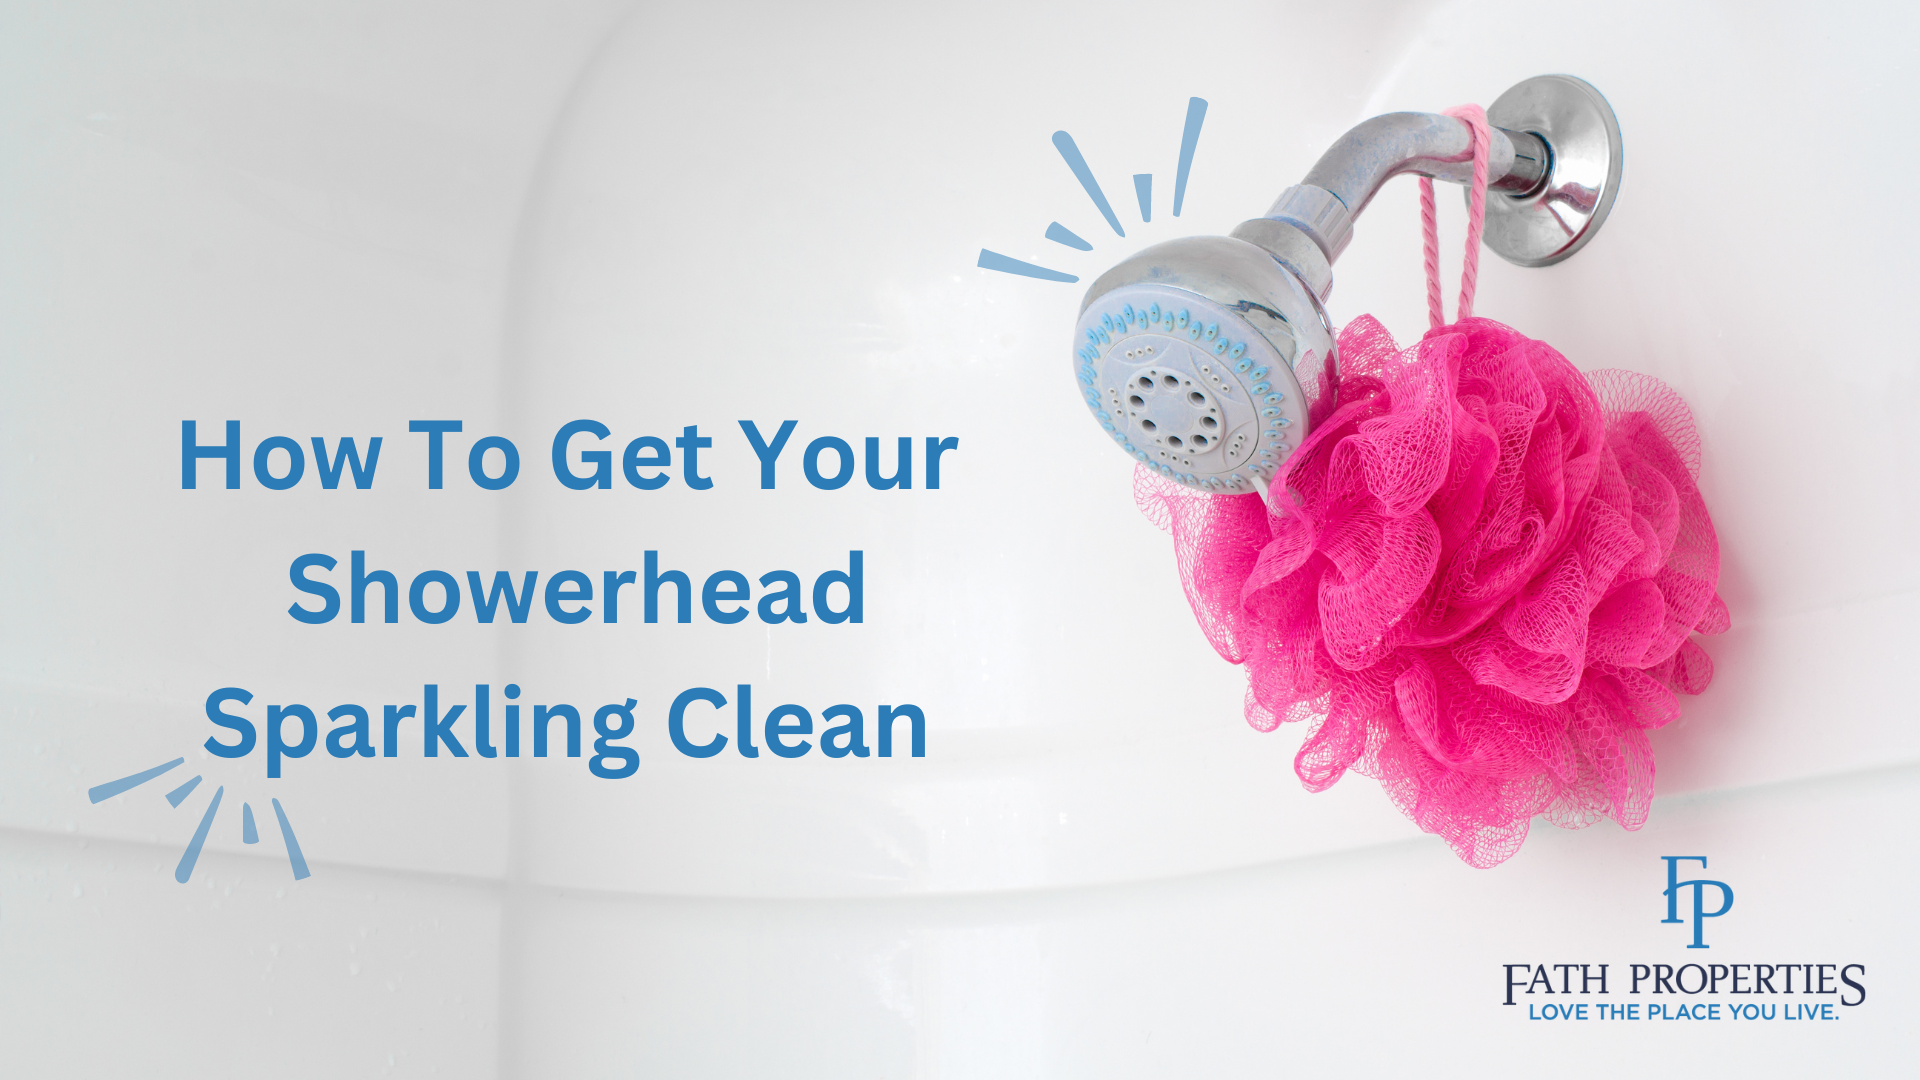
I’ve never really been able to wrap my head around all manner of dirt showing up in places where you clean things like hands, dishes, clothes, body, and hair. I mean, these places are usually full of hot or warm water and some kind of soap. So what’s with the dirt, soap scum, mold, mildew, and unidentifiable muck? According to Apartment Therapy, the black stuff is probably oxidized manganese, an element present in most water that tarnishes when exposed to air. Regular tap water can contain this mineral and faucets, toilets, or showerheads might accumulate some deposits. Ah, okay. But it’s still gross. And ultimately, in the case of our showerheads, it will cause the delightful forceful water spray of your shower become more like a trickle. Let’s get rid of the muck and get your showerhead sparkling clean!
Many folks delay cleaning showerheads because they just don’t realize how easy it is to clean them or just don’t think about it. As a result, over time, showerheads become clogged with deposits, making them harder to clean. The minerals in water can build up and block the openings just as they buildup on shower doors. The blockage can even prevent the interior of the showerhead from drying completely between uses, encouraging mold and mildew to grow. Plus, bacteria of all sorts thrive in showerheads, and thorough cleaning can help remove potentially harmful ones. More eww.
To save future you from an unpleasant and unnecessary ordeal, clean your showerhead routinely each week and deep clean a maximum of quarterly or at least twice a year. Why the variation in timing? It depends on how your water is, as hard water results in more mineral buildup.
Weekly Clean
- Run a scrub brush across the shower nozzles to loosen and free any buildup.
- Wipe down the entire shower head with your favorite all-purpose cleaner and a paper towel (or these cool reusable paper towels).
- Follow with a spritz of stainless steel polish spray and buff with a microfiber cloth for extra shine.
Achieving a clean, shiny shower head can be both fast and easy!
Deep Clean
Every few months, do a more thorough clean to remove mineral deposits and stave off germs from the head.
Timing
How long will the cleaning process take? It depends on the level of hard-water stains, how bad the mold is, and the severity of the clog in your shower head. Expect to spend anywhere from 10 to 20 minutes actually cleaning. But if you’re dealing with a particularly dirty or clogged model, factor in roughly six to eight hours of waiting time while your shower head soaks (so be sure to take a shower first).
The job is easier than you think, but you’ll need to adjust the process depending on what type of showerhead you’re working with.
For a regular, smaller, showerhead:
Supplies
- a sturdy plastic bag
- a rubber band or zip tie
- a few cups of white vinegar
Process
- Take a couple of thick rubber bands and slide them over the shower arm or loosely attach a zip tie.
- Fill a durable plastic bag (like a freezer or gallon zip-top bag) with white vinegar and place over the showerhead.
- Secure rubber band or zip tie around the bag.
- Leave overnight.
- Wipe off the showerhead in the morning.
PRO TIP: Use the same vinegar-and-baggie method for any faucet in your home.
Did you know? Vinegar has descaling superpowers (translation: It easily removes mineral buildup from your water).
For a larger, rainfall-style showerhead you may need to detach it to clean it:
Supplies
- Large bowl: Make sure it’s big enough to submerge your showerhead
- Distilled white vinegar
- Wrench
- Needle-nose pliers
- Microfiber cloth
- A mild bathroom cleanser
- Toothpicks
- Metal polish: Brasso can help with stubborn hard-water stains on metal showerheads.
- Sealant tape: Also known as plumbers tape, this thin wrapping helps prevent water from seeping out when you screw a showerhead back onto the arm.
Optional supplies
- Safety glasses to help protect your eyes from errant splashes of vinegar or cleanser.
- Step stool if you can’t easily reach the showerhead.
Process
- Use the adjustable wrench to unfasten your showerhead at the base of the arm.
- Remove any loose debris from the outside by running your hands or a soft cloth across the entire surface.
- Pull out any sealant tape that might be stuck to the internal threading.
- Remove any large pieces of debris from the small screen and/or flow restrictor just inside the showerhead with needle-nose pliers.
- Use a toothpick to poke any especially stubborn gunk out of the screen, but be very careful: You don’t want to widen the small gaps in the screen; that would allow larger bits of debris to get inside. When you’re done, place the screen and/or gasket back inside the showerhead.
- Rinse the showerhead.
- Place the showerhead in a large bowl, nozzle side up or sideways.
- Fill the bowl with equal parts distilled white vinegar and water, until the showerhead is completely submerged and swirl to help the solution run through the inside.
- Soak overnight.
- Remove from bowl and rinse thoroughly.
- Polish with cleaner of Brasso.
- Reattach using plumbers tape.
PRO TIP: Avoid using any cleaners that are abrasive or contain bleach, cleaners formulated for toilets or acids targeted to remove rust, and abrasive brushes and sponges, like the Magic Eraser.
Now that your showerhead is clean, gunk-free, and clog-free, reward your efforts with a nice long shower. Ahhhhhhh.
The post HOW TO GET YOUR SHOWERHEAD SPARKLING CLEAN appeared first on Fath Properties Blog.
]]>